
I spend a lot of time working at my desk and because of that I have a nice desk with a great monitor and a very comfy chair. Last year I decided to move my PS4 onto my desk to take advantage of the setup I’ve spent so much time and money perfecting.
I needed to figure out how to easily switch my monitor between my gaming console and my computer without constantly have to change my HDMI cables manually. I found a great, easy solution and I’m going to pass that on to you – this solution works for every type of gaming console (PS4, Xbox One, Nintendo Switch, etc).
The best way to easily toggle a monitor between your gaming console and your computer is to buy & install an HDMI switch (which are inexpensive and easy to set up). Let’s take a look at what the different product options are and how you can add one to your setup.
What Is an HDMI Switch?

An HDMI switch is a device that takes multiple HDMI inputs (computer, gaming console, etc) and gives you the option of which one to display on your TV or monitor.
You likely very quickly understand how this is going to be useful to create a setup that lets you choose between your video games or your computer showing on your monitor.
How to Choose an HDMI Switch
While HDMI switches themselves are fairly straightforward there are actually a few different things to consider when purchasing one.
How many inputs do you need?
There are a variety of different options here. The most common number of inputs supported by consumer grade HDMI switches are between 2 and 5. If you need more than 5 there are definitely products out there that can handle it but you’re going to end up paying more money.
While this article focuses primarily on how to switch between your gaming console (PS4, XBox One, Nintendo Switch, etc) and your computer, you can very easily use an HDMI switch for many more devices than that.
While I do switch between my work computer (Macbook Pro) and Playstation, I also sometimes will add my gaming PC to the third input to easily switch between the three of them. The world is your oyster here.
If you think you only need two inputs I would recommend going for a device that will support three. That way you will have more room should you need it (and the price won’t be that different).
Wireless remote vs manual switching?
One way to save money on an HDMI switch is to get a more basic on that doesn’t come with a remote control. This may or may not be an issue, depending on where you want to keep the switch. You may find that you’re going to have the switch installed within arms reach and having a remote isn’t going to be all that helpful to you.
The one thing I would caution you on is that an HDMI switch that doesn’t come with a remote is almost certainly going to be a lower quality product. The first switch that I purchased was a very cheap one (it cost between $10 and $15) and I had a lot of problems with it not recognizing inputs and randomly changing.
The last thing you want happening in the middle of your game is the signal dropping out. I’d suggest paying a bit more money and getting a higher quality product. It just so happens that this better product will likely come with a remote (which is very nice to have).
My Personal Recommendation
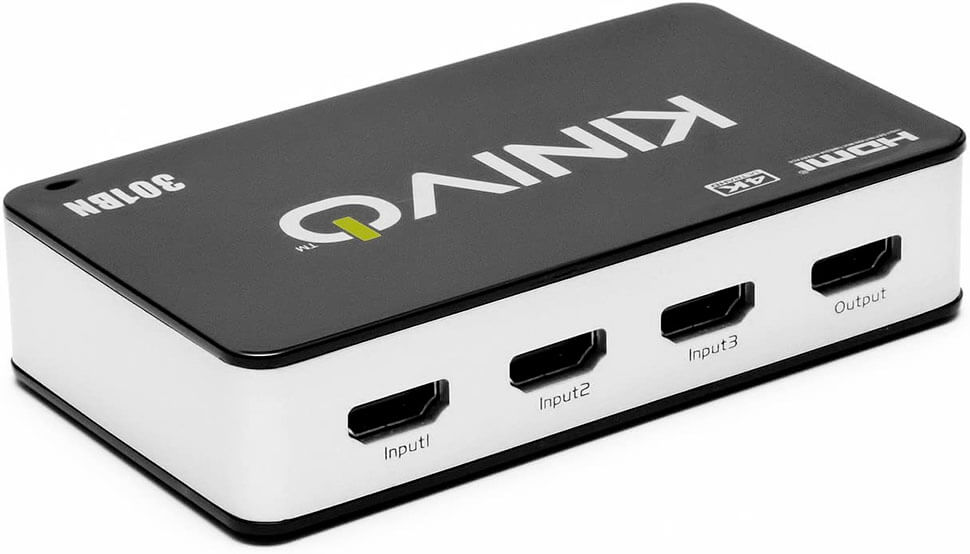
When I first worked on my setup to switch between my devices I tried out a few products. As I outlined above, I didn’t have any luck with the cheaper products I found on Amazon. I ended up having a lot of luck with the Kinivo 301BN 3-Port Switch (they also make a 5-Port switch).
What I like about this product is that it just works.
For example, when I turn on my Playstation it will just automatically switch over. If I want to have my Playstation on but not actually be showing it (maybe I’m downloading an update or something) I can just use my remote control to press which input I want to put it back on my Macbook Pro. When I’m done using my PS4 I’ll turn it off and it will switch back to the computer. It’s all just very simple.
Perhaps you don’t want it to auto-switch. If that’s the case you can actually disable that feature and only allow for manual control of the inputs.
At one point I thought it was bugging out on me but it was actually an issue with the HDMI cable (the damn cat chewed it up). I don’t really have anything to complain about with this device.
How to Install an HDMI Switch
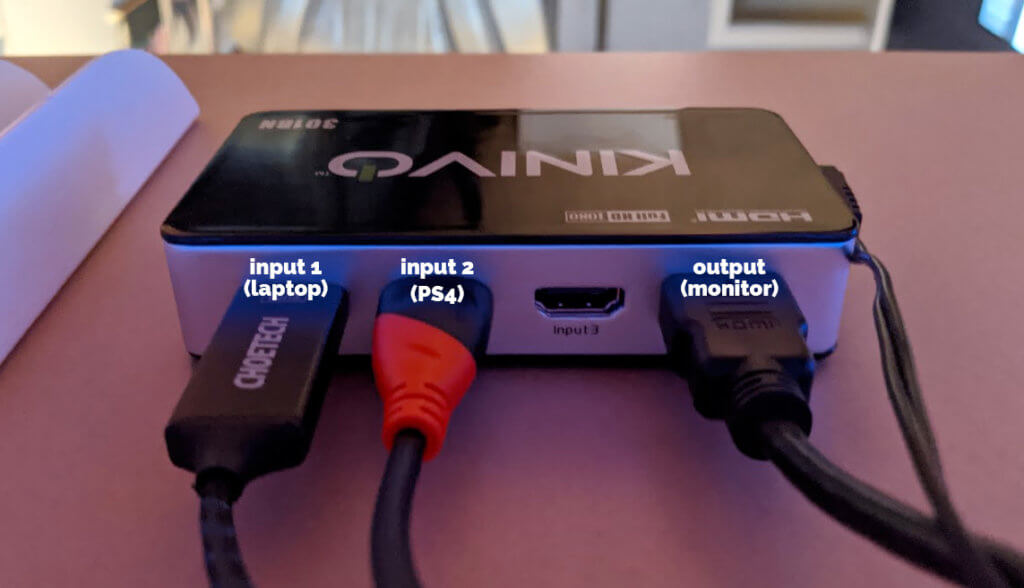
Here’s a photo of my setup. All HDMI switches are different but, at a high level, they all work very similarly.
- Input 1: Macbook Pro
- Input 2: PS4
- Input 3: Unused (sometimes PC)
- Output: Monitor
1. Gather the following items
Here’s what you’ll need to complete the setup
- One HDMI cable per input device
- One HDMI cable for the output monitor
- One HDMI switch
2. Mount your HDMI switch (optional)
Most HDMI switches don’t come with any type of add-ons to mount them (for example, under the desk like I have mine). It’s really quite simple to do though – just pick up some strong double-sided tape. I got a mega-roll of Scotch Indoor Mounting Tape on amazon a couple of years ago and it’s worked perfectly to stick my switch under my desk.
3. Plug in your HDMI Switch to a Power Outlet
Not all HDMI switches require power but the higher quality ones do (they will have indicators of which device is active as well as coming with a remote control).
4. Plug in the HDMIs from your devices into the input ports
You can pick whichever ports you’d like, put them in whatever order makes sense to you. It could be worth writing them down, at least for the first few days that you use it.
5. Run the HDMI from the switch output to your monitor
Just run the output cable to your monitor and plug it in. Depending on if any of your inputs are on you might see a signal automatically. If not, you’ll need to power on the devices so that you can test.
6. Test / troubleshoot your setup
Cycle through the different inputs that you’ve installed and make sure they’re all working.
Troubleshoot Issues With Your HDMI Switch
If it’s not working correctly there are a few things that could have gone wrong.
Are your input devices actually working?
A good way to test this is to take the switch out of the mix and plug the device (the console, the computer, etc) directly into a monitor or TV. If it’s working you know that the problem lies elsewhere.
Are your HDMI cables working?
HDMI cables actually can have problems more than you’d think. If you’re not getting output from a device to a monitor (for example, when testing in the previous troubleshooting tip) then it could be a problem with your HDMI cable. If you’re not able to get a signal from the HDMI switch to the monitor (and you’ve already made sure that the devices are working) then your HDMI connecting that switch and the monitor could be bad.
Turn your switch off and on again
A classic troubleshooting maneuver for any electronic device. Turn stuff off and turn it back on. It works more often than you’d think.
Check all of your connections
Make sure that every cable is securely plugged into the ports and that nothing is connected poorly.
What now?
You’ve done all of the troubleshooting steps above and you’ve determined, by process of elimination, that the problem is with the HDMI switch itself. If that’s the case then unfortunately you may have a faulty product which you’ll need to return.
Summary
Adding an HDMI switch to your desk setup (or any other setup for your media for that matter) is an excellent idea. It will make it far easier to switch between the different devices without ever needing to switch inputs again. They’re simple devices, are fairly inexpensive and are very easy to install.